
In the past, professional photography of ecommerce products was a task that was only possible for trained photographers with expensive equipment.
Fast forward to today, and all you need to take stunning product photos for your business is a smartphone, some free photo editing apps, and a little bit of effort.
The time and effort that you put into your product photos will pay off long term too – humans digest visuals up to 60,000 times faster than text, so you can bet that your product photos will be the first thing that shoppers notice when they’re on your website.
Plus, your product photos are the closest thing that online shoppers can get to touching your products, so great images can really help you to build trust.
But I know that creating product photos for your business can be a daunting task, which is exactly why I’ve created this article. Today we’re going to go through everything you need to take amazing product photos, and all you’ll need is your smartphone.
Okay, let’s jump into it.
Post Contents
Before You Get Started

Make Sure Your Lense is Clean
If you’re anything like me, you’ve probably put your phone through some tough times, like that time I tried to throw it onto the sofa and it bounced off onto the floor.
But when you’re taking product photos with your phone, you’re going to need to pamper it – especially your lense.
→ Click Here to Launch Your Online Business with Shopify
Why?
A dirty lense – even if there are only fingerprints on it – will decrease the quality and sharpness of your images.
Not a very good look for a professional brand.
So, make sure that you give your lense a quick clean before you start taking any product photos.
I recommend using a simple microfiber cloth like the one you’d use for your glasses, or to clean your laptop screen. Try not to use tissues or clothes to wipe your phone lense – the fibers in them might leave tiny scratches on your camera lense, which is not ideal, to say the least.
Turn Flash Off
Flash is fantastic if you’re taking photos in dimly lit areas (more on lighting later).
However, we’re taking product photos here, not trying to catch a ghost in the middle of the night.
You’re not going to need your flash, so turn it off and forget that it even exists while you’re taking your product photos.
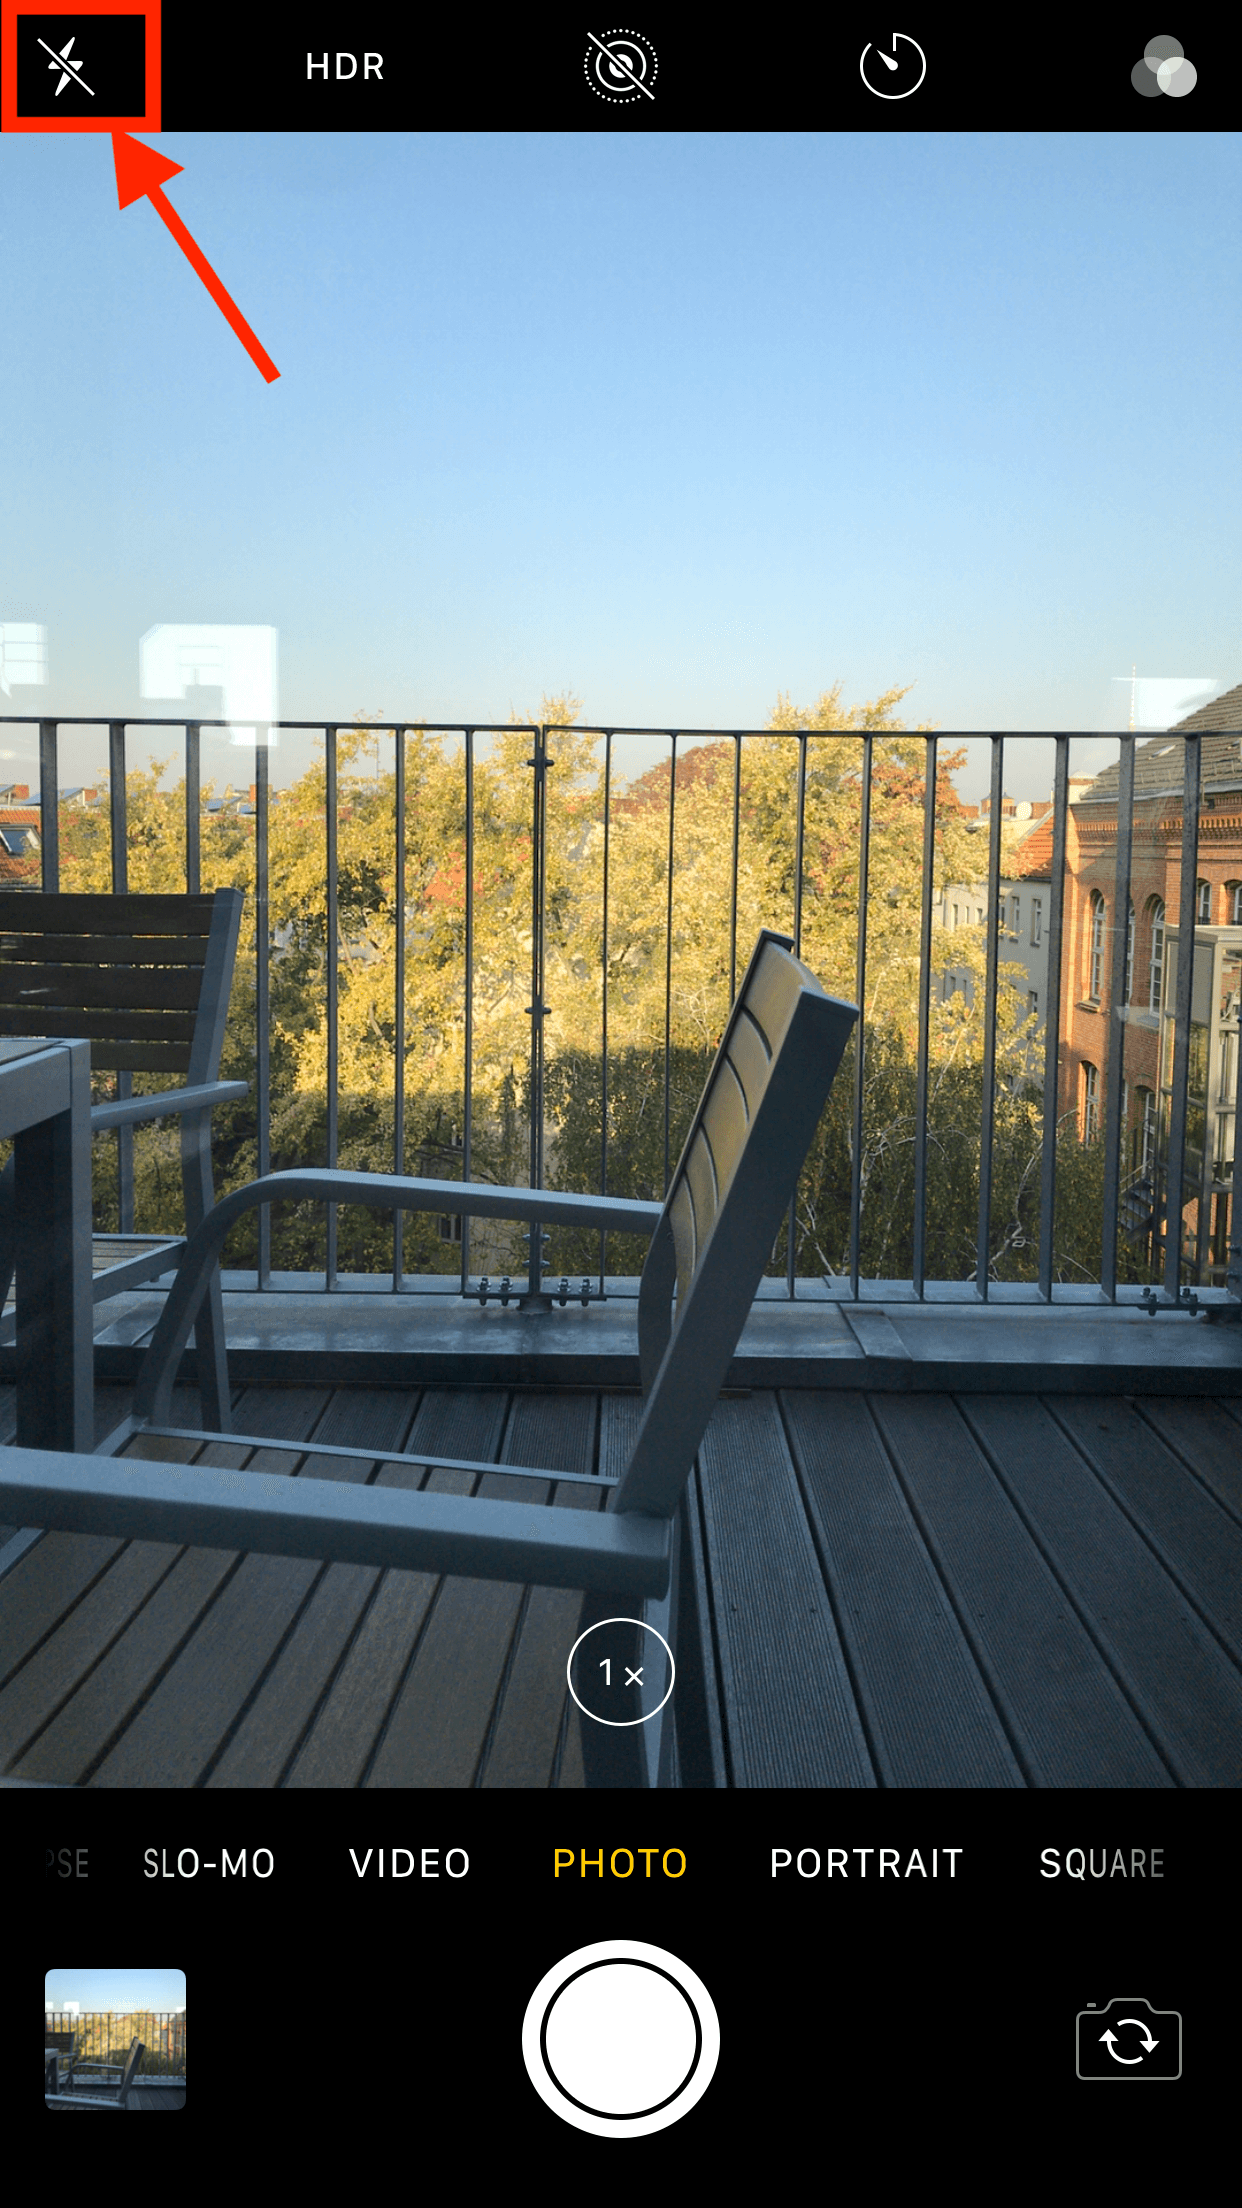

Test Out Your Camera Modes
This might seem like an obvious one, but it still needs to be said.
Most smartphones have a bunch of different camera modes and settings which you can take advantage of when you’re taking product photos.
Take my iPhone 7, for example. I always turn on HDR (High Dynamic Range) when I’m taking photos – this mode really helps to balance the photos and provide a crisper picture.

I always like to turn the live photos feature off too. This feature takes footage for one full second which you can scroll through again to make sure you capture the perfect moment, but it can make life a little difficult when I’m trying to import my images from my phone to my laptop.
But overall my setup is pretty simple – flash turned off, HDR on, and live photos off. I also like to stick to the “Photo” feature too, rather than “Portrait” or “Square.”
Choose a Great Location
Okay, once you’ve sorted your smartphone out, it’s time to decide on a location for your photoshoot.
Remember – you don’t need to rent a professional studio for the day to take fantastic product photos.
You can take advantage of the spaces available to you and still create high-quality photos for your online store.
Don’t believe me?
Take a look below at the location that I chose for one of my photoshoots.

It doesn’t look like much, right?
That’s because it only took me a few minutes to set this up.
All I did was push an outdoor table that was on my balcony against the wall, and place some white sheets of paper underneath the product that I was shooting. You can even see the glasses wipes that I was using in the photo – not exactly Hollywood, is it?
But, as you’ll see later on, the end results from the test shoot look really great, and I’d be more than happy to use them in my own online store.
Nail Your Lighting

Lighting is so important when it comes to product photography – it can make or break the images that you take.
Of course, a professional lighting setup will really enhance the quality of your product photos, but it isn’t mandatory – natural lighting is also great.
Using natural lighting can be restrictive, especially when it comes to the times of the day when you can shoot, but it’s a great option if you don’t want to spend money on lighting.
Here are a few things to take note of when you’re using natural lighting.
Direction
Always try to gauge which direction the light is coming from before you start shooting. This is going to change throughout the day, so it’s something that you’ll need to keep your eye on.
As a general rule, taking photos with the sun shining directly onto your products isn’t the best idea. In the image above of my shooting location, you can see that I was shooting without any direct sunlight onto the products.
Temperature
Natural lighting can really affect the temperature of your images. Again, the temperature of your images is going to change depending on the time of day and the weather.

It was early morning when I took the image above, and you can see that the white paper actually appears to be blue – this is due to the temperature of the natural light. If I’d have taken the image above later in the day, the white paper would appear much brighter.
Intensity
Essentially, the intensity of the natural light will dictate how bright your images are. You’ll be able to tell how intense the light is when you look at the shadows in your images.
If you see that there is a stark contrast between the shadows and your product, it’s likely that the natural light is intense. If you see softer shadows, you’ll probably be using less intense light. Try to find a balance somewhere in the middle for the best results in your product photos.
Taking Your Product Photos
When you’ve decided on your shooting location and your lighting, it’s time to grab your products and your smartphone, because it’s photoshoot time.
More is More
You might have heard the term “less is more,” but when it comes to taking product photos, the opposite couldn’t be more true.
I’ve perfected what I like to call the “scattergun approach” for product photography – I just take as many photos as possible, just to make sure I take one that I like.
After all, I can always delete the ones that I don’t like later on.
Remember to Focus Your Camera
Smartphone cameras are super easy to focus. A lot of the time all you really need to do is tap on what you want to be in focus, and your phone will take care of the rest.
It’s a super simple technique, but it just really helps to draw the attention to the product, not the surroundings.
Forget About Zoom
Simply put, the zoom function on a smartphone doesn’t work in the same way as it does on a high-end DSLR camera.
When you use zoom on your smartphone your end results will have a significant drop in quality because smartphones don’t actually zoom in.
Instead, they essentially just crop the image, and that’s something you can do yourself with professional editing software.
Seriously, leave the zoom function alone.
Don’t Move the Camera
One of the best pieces of advice that I can give when it comes to product photography is to find an angle that works, and make sure that your camera stays in that same position throughout the shoot.
Why?
Well, consistency is key for your product photos – keeping your camera in one place, and moving your products instead will really help you to achieve clean, professional images.
Take a look at this example from ASOS:

When you flick through the photos on this product page, it feels like you’re moving with the model. But, when you take a look at it a little closer, the light always falls on the model from the same angle – this means that it’s the model who is moving, not the camera.
With some clever editing and cropping of the photos, it really looks like the camera is in totally different positions for each photo.
This is something that you can easily achieve too, so take a look at how you can edit your photos on your smartphone.
Editing Your Photos
There is a plethora of free apps that you can use to edit your product photos on your smartphone, like Flickr, Snapseed, or even Instagram (all of which are available on iOS and Android).
But there’s one which stands out from the crowd in terms of editing options and ease of use – VSCO.
VSCO will give you everything you need to turn a pretty standard photo into one which looks professional, and is perfect for your online store.
Once you’ve downloaded VSCO, you’ll need to import a picture, and from there you can tap on it to start editing.

This is one of the product photos that I took from the setup that I mentioned earlier.
I’ll use this example and walk you through the exact steps that I took to arrive at my final result.
Okay, so the first thing that I wanted to do was make this image a little bit brighter – as you can see, it had a pretty cold temperature to begin with.
To do this, I used VSCO’s exposure tool, and increased it quite a bit.

That was a step in the right direction, but I was still a long way to go. Next, I needed to increase the contrast – this increased the temperature of the image, and helped the sunglasses to stand out from the monochrome background.

At this point it’s already quite a drastic improvement from the original photo, but there were still a few pesky blue tones that I needed to remove.
I used the White Balance function to slightly increase the magenta and yellow levels, which really helped me to achieve a neutral background for the product photo.

I was pretty happy with the status of the photo at this point, but one of the standout features of these sunglasses were the neon green arms, so I wanted to make sure that they really “popped.”
The best way to achieve that was to slightly raise the saturation of the image.

Fantastic. That was the bulk of the photo editing taken care of. Next I wanted to cut off some of the white space around the product, and ensure that it was in the center of the image, so I used VSCO’s Adjust tool.

From here I just needed to add one finishing touch to the photo by increasing the sharpness a little.

Next I saved my final image, and this is what I ended up with:

A pretty decent result, especially considering it was all done with my smartphone and the whole creation process took less than 20 minutes.
Here’s a look back at the full transformation:
Overall, I was super happy with how this turned out, but the reality is: you need more than one photo for your product pages.
Why?
Well, you’re trying to convince somebody to make a purchase, so let your customers see as much of your products as they need to.
So, I needed to take a few more snaps of these shades. I decided to find a new place to shoot, just to switch up the backgrounds of my images.
Here’s what I came up with (I applied the same edits to these photos on VSCO):

As you can see, these sunglasses have foldable arms and a foldable front.
This is one of the main selling points for this product, so it was essential that I took product photos which displayed these features – the photos really help me to show what these products are about.
At this point I had 5 photos for my products, which was enough to flesh out my product pages.
Not bad, huh?
Taking Product Videos
As you saw in the example above, we can really paint a good picture about a product with just 5 images.
However, a short video highlighting your product can add so much more.
Why? Well, if you only include product photos on your pages, you’ll always be limited to a few angles, and you’ll need to choose the ones which you believe portray your products best.
But, if you add in product videos, you’ll find that it’s much easier to show off your products.
If we take another look at an example from ASOS, we’ll see that they’ve included product videos which really give shoppers an idea of how their clothing looks and fits:
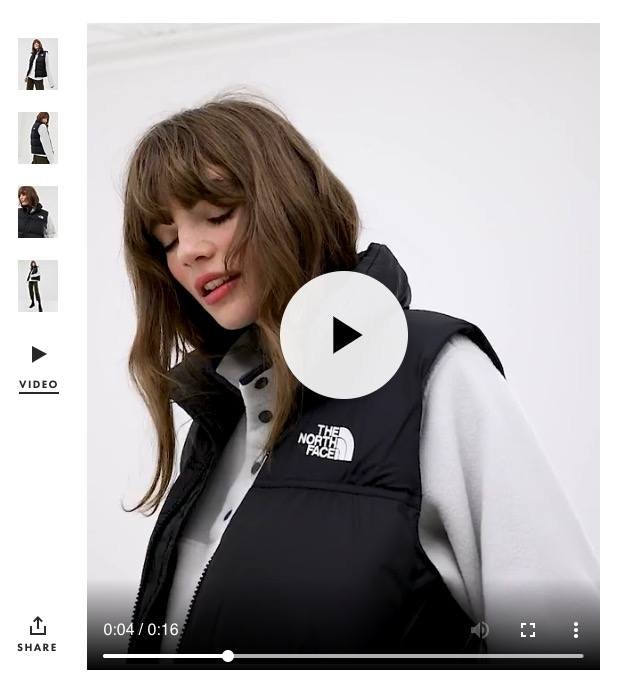

So don’t be afraid to experiment with videos for your own product pages – see if they can help you to convert customers too.
Time to Take Your Own Product Photos
Okay, so that’s everything you need to know to take amazing product photos for your business.
Now it’s over to you.
And whether you decide to use your smartphone or a professional camera, remember to have fun with it.
This is your chance to showcase your products to the world, so get creative, and don’t be scared if it’s your first time.
So, do you have any product photography questions for me? Did you like the product photo that I came up with? Or maybe you just have some general ecommerce questions? Let me know in the comments section below – I read them all!